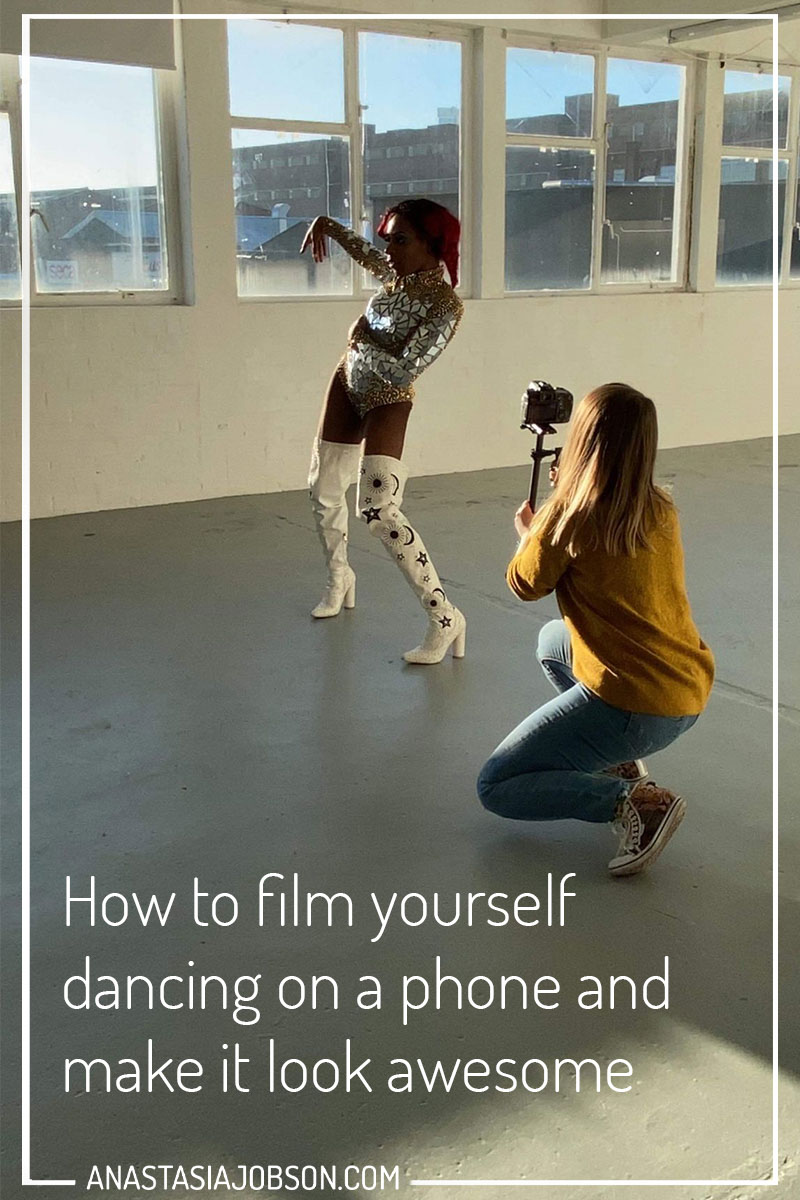
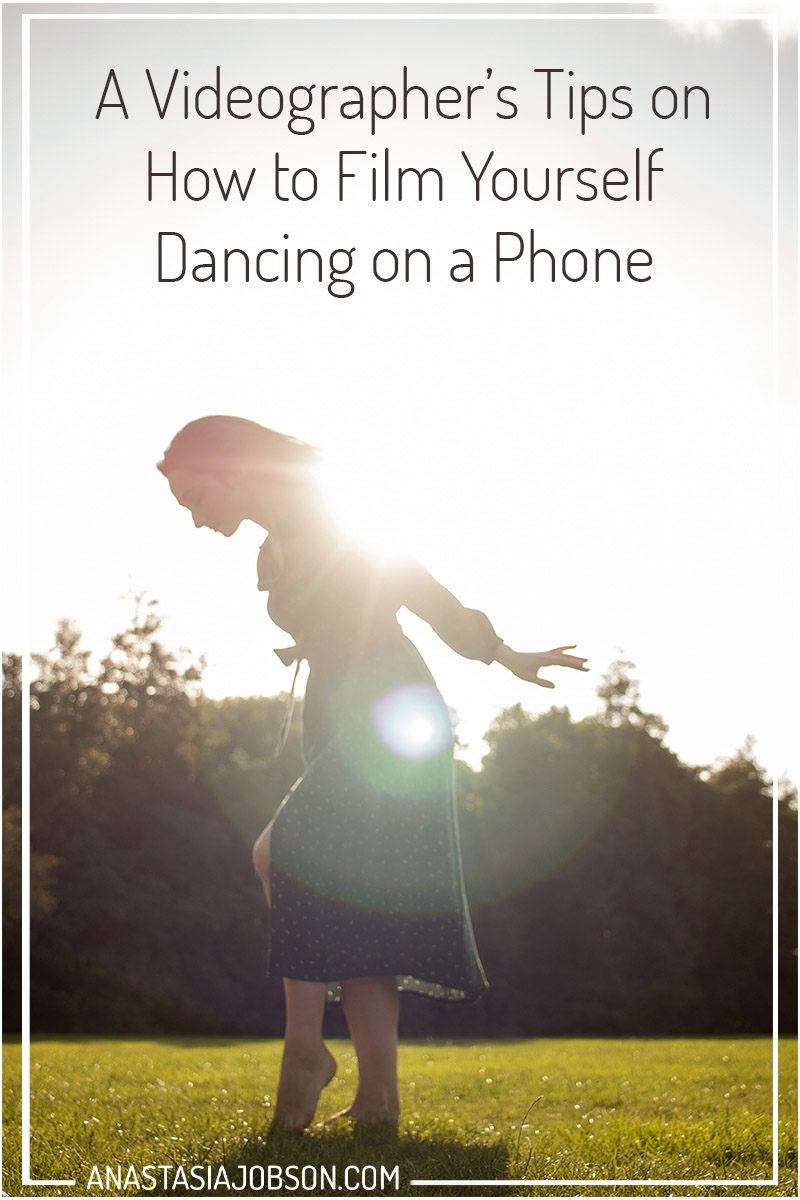
How to film yourself dancing on a phone and make it look awesome
With more video content being posted online than ever these days, it’s really important to make sure your dance videos are the best quality they can be. Being able to film yourself dancing on your phone is one of the best skills you can learn to build your presence as a dancer online.
I’m a professional photographer and videographer specialising in dance and movement, and today I will share some awesome tips with you on how to film yourself dancing on a phone at home or outdoors and create some stunning content for social media on your own.
How to film yourself dancing on a phone: THE BASICS
Set your phone ready to film
Tripod
A tripod is such a basic and cheap accessory, but it’s such a lifesaver. If you’re not using one yet, trust me it will make your life so much easier! Pop your phone on a tripod and you can play with a variety of height options, angles and most importantly phone camera placements. You can place it literally anywhere, from your living room to a street in the city centre or a field in the middle of nowhere, and film yourself dance!
There are plenty of cheap and cheerful tripod options online. I would recommend getting a camera tripod with a smartphone adapter. Tripods for cameras are generally sturdier and have more height. You can find a decent compact camera tripod for £15-20 and a phone adapter is only a couple of pounds.
DIY phone holder
Although, if you’re on a really tight budget (thanks, Covid!), no tripod – no problem! You can always work with what you’ve got. For example, you can place your phone on the table or a window ledge against a coffee cup (that’s what I usually do). A stack of books will also do, or anything heavier than your phone. It will be a good idea to place something flat in front of your phone to prevent it from sliding. I saw a few times online how people are taping their phones to a wall or a ceiling – such a cool idea!
The only limitation with DIY phone holders is less flexibility when changing camera angles as well as a risk of your phone falling off with all the jumping and dancing you’re going to be doing.
Check your composition
In photography and videography, composition is how you frame your image/video. It includes creative decisions such as where to place your subject, angles you use, and other element you include in the frame.
Keep your whole body in the frame
When you film yourself dancing on your phone it’s important to keep the whole, or at least most of your body is in the shot.
It’s easier to use your phone’s front camera so you can see yourself and adjust your movement ensuring you don’t step out of the frame. Though the quality of the front camera is not as great as the one’s on the back of your phone.
I would recommend doing a test recording with the front camera to see how much space around you can be used. You can also put marks on the floor as a reference for where your ‘stage’ stops. When you’re confident with the space, you can then go ahead and film yourself with the phone’s back camera for the best quality.
Simple & clean background
Less is more. The cleaner the background in your dance videos the more clearer your movement will look. If you film yourself dancing at home, the best spot for filming would be a simple wall. Look out for any distractions in your background like furniture, and try to move it away if possible.
Lock your exposure
Here’s another useful photography term for you! Exposure is how much light you let in the frame. Exposure will determine how bright your image/video will be.
iPhones have auto exposure, so you don’t need to stress about it much. However, the problem with a phone’s auto exposure is exposure re-adjusting itself as you move. You have probably noticed it when you press record button and leave it be, the image often goes lighter and darker, and then lighter again. It’s distracting, it takes away from your movement, and generally looks amateur. So let’s talk about how to film yourself dancing on iPhone with perfect exposure and focus.
Hey fellow iPhone user! Before you start filming, you should lock your focus and exposure. It only takes a few seconds. For the best results, place an object in your frame where you will be standing. It can be a plant, a chair, or even your pet. Tap on the screen where you want your iPhone to focus, hold it until you see AE/AF lock banner on the top of your screen. You will also see a ‘sun’ icon, that’s your exposure. Drag it slightly up or down until you’re happy with the amount of light in the frame, and you’re done! Locking your exposure and focus in iPhone camera beforehand will make sure the lighting in your video is consistent and clean.
Talking about the lighting…
Make sure the light is good
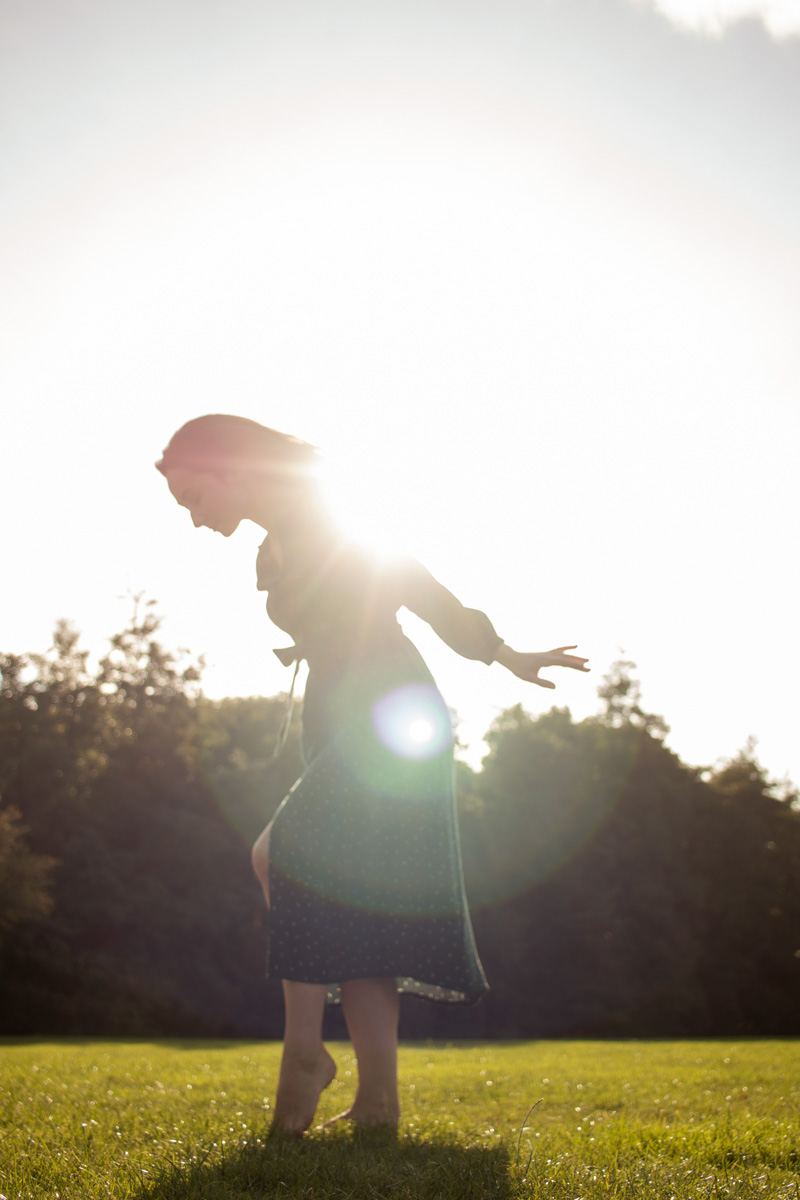
Another important ingredient of a great video is lighting. Window light usually works perfectly well for smartphone videos. You can stand right in front of the window for soft and even light. Side-light will look great too. Basically, you want to ensure light is flattering on your face and shows your movement clearly. What you don’t want is unflattering shadows on your face (i.e. light from below doesn’t flatter anyone).
As a videographer, I love backlight in my videos! It gives such a dreamy look. Unfortunately, when using a phone backlight will only work for a dark silhouette look, as opposed to light and airy look you can get with a dslr. You can always try filming against the light source on your phone and then lift the shadows (exposure), however, it will really affect the quality.
Sound
So now as you have stable, well-composed and well-lit dance footage, it’s time to get the sound right. To ensure your dance video’s quality is great all around, you have to pay attention to the sound.
There are two ways you can approach audio: you can either have your music source close to your phone while filming (to avoid any echoes), or download a song you want to use for your dance video and throw it over the footage in the editing. Most of songs are only a pound or even less to buy. This way you’ll have the best quality audio possible. Low quality sound will detract from your movement and leave the viewers confused about musicality, or worse, some will simply click off from your video if the sound is less than perfect.
Okay, so we just covered the basics of filming yourself dancing on a Phone. Now let’s talk about how to make your DIY dance video look awesome.
Phone video editing apps
Don’t worry, you don’t need specialist videography software to edit your dance video. There are plenty of smartphone apps you can use to edit your dance video footage! I use these two all the time:
iMovie
It’s just awesome! It comes with most of iPhones already installed. iMovie is very simple to use – add titles to your videos, transitions, make your footage slower or faster on the go. The main limitation with a mobile version of iMovie is landscape (horizontal) video only. If you’re after a classic cinematic look for your dance video, iMovie is brilliant. However, if you filmed yourself dancing vertically, iMovie will automatically change it to horizontal frame leaving you with lots of empty space around your video.
InShot
InShot is my number one favourite iPhone app. It’s great for both photo and video editing. Unlike iMovie, InShot lets you export your videos in any ‘canvas’ (ratio) size, from 1×1 to 4×5, 9×16 IG story size and many more. Add cool filters, effects, transitions, text, even music to your dance videos in the app. Highly recommend.
Get creative with your angles
Creating a simple (one still shot) dance video is great, but anyone can do it (and everyone does!). You want to stand out on social media, right? So you need to do something different and more artistic.
Why don’t you film your choreography/freestyle from various angles and then edit all pieces together in one dynamic video? The beauty of this technique is you don’t need an assistant, you can DIY. Simply place your camera in a different place every time you press ‘record’. Here are a few angle ideas: you can get a straight-on shot, side-angle shot, high-angle shot, low-angle shot… the more variety the better! For more drama in your dance video, get some long (full body) shots as well as close-ups and mix them up in your post production!
You can see an example of a choreography shot from various angles here – BLCKNGLD concept dance video.
Add depth
This is my go-to technique! To make your video footage more interesting, add some depth to it. By simply placing something between you and your phone camera you will instantly add more context to your video and help tell the story. Try placing your phone in between tree branches, or place it in the grass, so the camera is shooting through something. When you shoot though an object which is really close to the camera it will create a little blur and create a frame in the frame making your video more artistic and different.
This is all for today! I hope you found this blog post useful, and if you have any questions on how to film yourself dancing on your phone, write them down in the comment section below and I’ll answer them.
Until next week! Stay safe.
Sorry, the comment form is closed at this time.