How to set up a Home Photography Studio on a Budget
Hey fellow photographer! Would you like to shoot what you want and WHEN YOU WANT, regardless of the weather and natural light condition? (UK shooters will understand how challenging it is to find the best weather for photoshoots) In this tutorial I’d like to teach you how you can create your very own home photography studio on a budget.
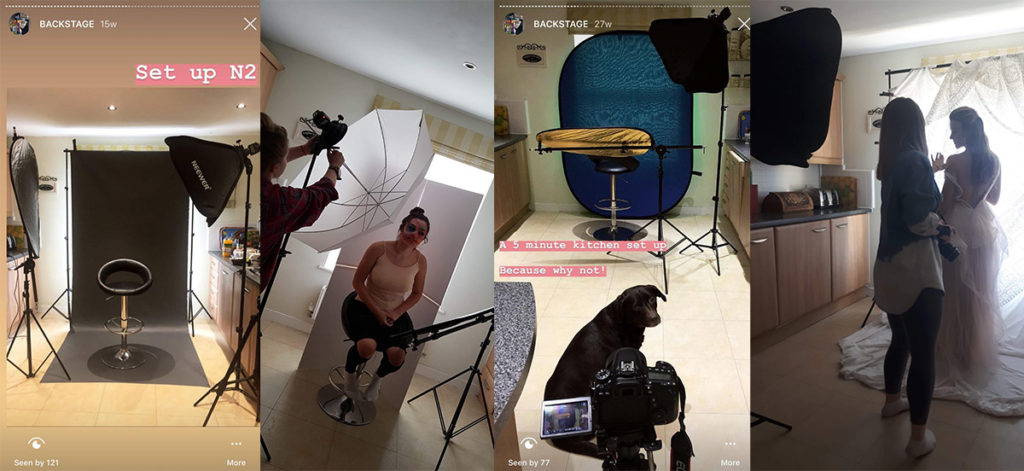
Did you know that you can set up a photography studio environment practically anywhere? It can be in your apartment, house, garage, even outside! Because why not! The best thing about it is that it’s CHEAP!
It took me a while to realise that ‘studio photography’ is NOT a luxury that only successful pro photographers can afford. It’s very affordable and easy to replicate.
All you need to do is BE SMART with your purchases. You DON’T NEED IT ALL! You don’t need the latest, most powerful flashes and strobes, massive soft boxes and fancy backdrops to get creative with studio photography.
Home photo studios are generally SMALL, not fancy and they don’t have to be.
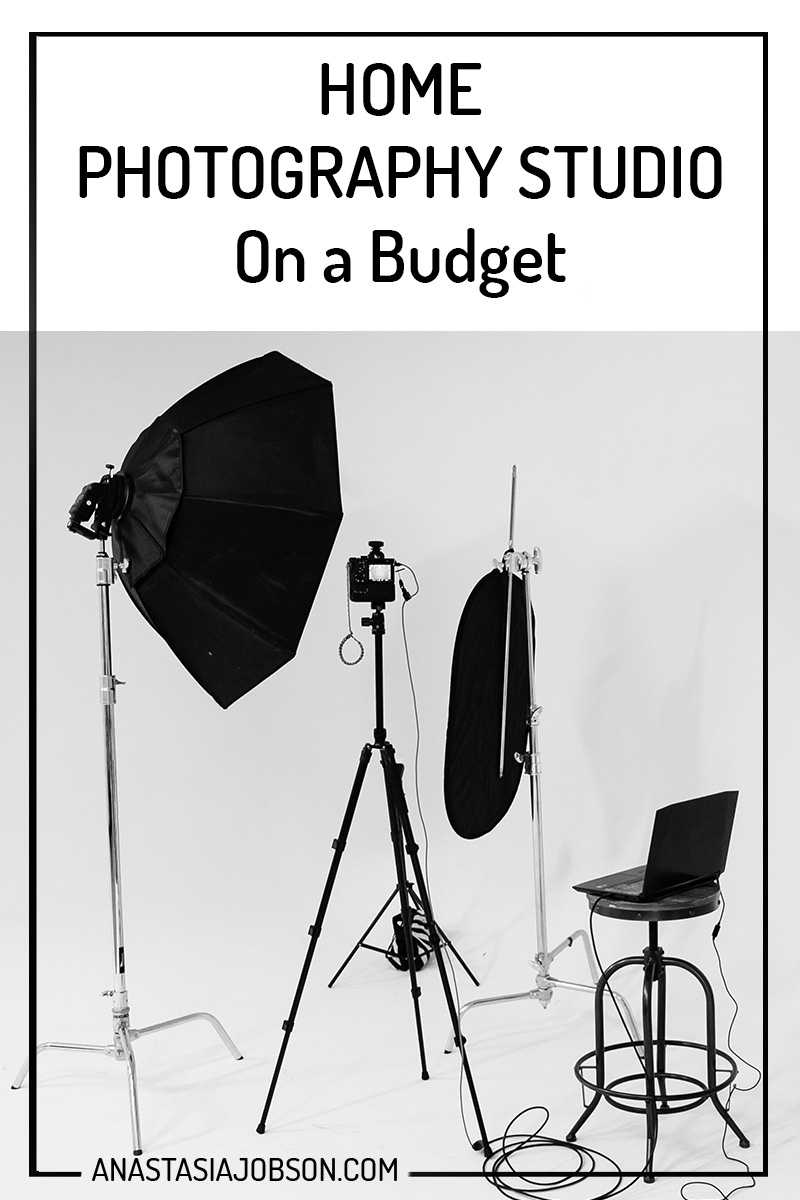
Essentials of a Home Photography Studio on a Budget:
What do you need for a photo studio environment? There are 2 key things: LIGHT and BACKGROUND.
Straight away tick the backdrop out from your list if you’re lucky to have a clean (white) wall in your home. Jackpot if this wall is right by a big window! You are all sorted! 🙂
LIGHT
Having good quality light is crucial for great studio portraits.
Use natural light if it’s daytime and you have a big window. If not, get a cheap speedlight with modifiers.
There’s no need for an expensive flashgun for studio portraits. The main feature you would always need is a dial to control the light output and the right trigger with a receiver that’s compatible with your camera. I personally use use a Neewer NW-561 speed light (£35-40 with a trigger on Amazon) It’s cheap, but reliable: it’s never let me down. I’m so happy about this cheap buy so I even purchased a second one!
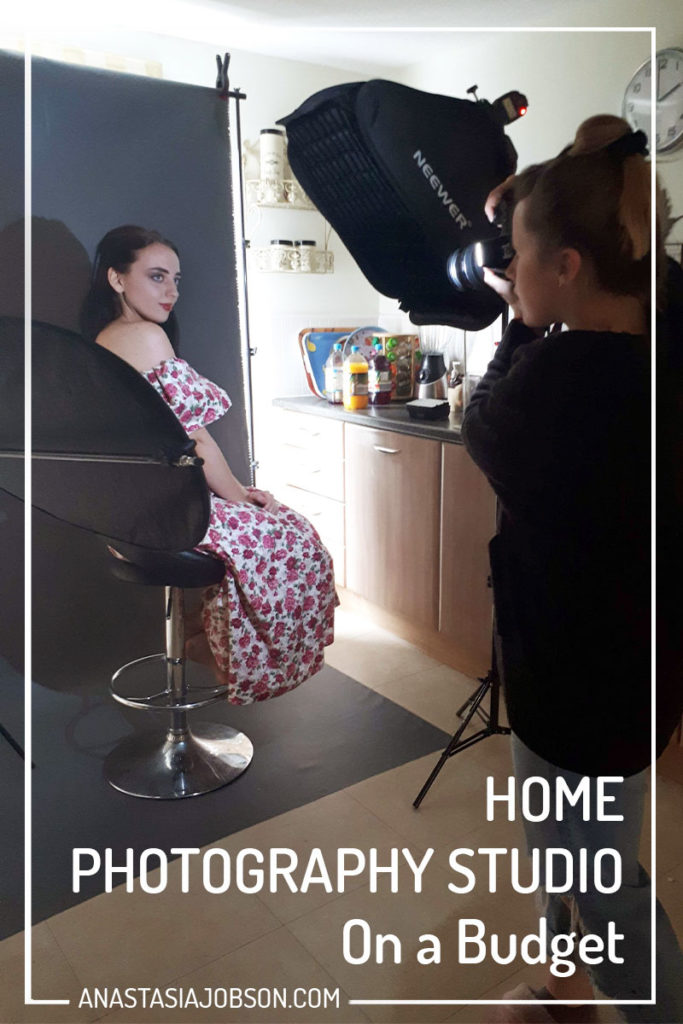
For the light to be soft and flattering consider a light modifier. It can be an umbrella (white or silver) or a soft-box (they come in a variety of shapes and sizes).
Umbrella
The cheapest option would be an umbrella (£7-10). It’s pretty much all you need if you are starting out. Umbrellas are portable and very quick to set up.
A white (translucent/shoot-through) umbrella gives a beautiful and extremely soft light. It’s great if you want to light a whole room or a group of people; the light spills everywhere. The only downfall with a shoot-through umbrella is it’s not very efficient with the light output as it’s diffusing the light. The less light that is actually reaching your subject, you’ll need to increase the speedlight’s power to compensate.
A silver (parabolic/reflective) umbrella is perfect if you want a more dramatic, edgy look. These umbrellas maximise the light output unlike white ones. So if you desire to get the most of your light that’s the kind of umbrella to go for.
Soft-box
Soft-boxes are also great. If you would like more control of the light, go for a soft-box. It directs light better than umbrellas and doesn’t spill as much light. A budget soft box with a grid is around £20-30, but can also go up to £50-70 depending on a brand and size. The bigger the soft-box is the softer the light is going to be, though it’ll need more power.
When getting a soft-box make sure it comes with a grid! I love grids! You can create amazing atmospheric portraits with it. Limit the light spillage, direct it more and enjoy a moody feel in your portraits.
Don’t forget about a S-type bracket (Bowens mount) to hold your speed light. You will also need a light stand to mount the bracket with a speedlight on.
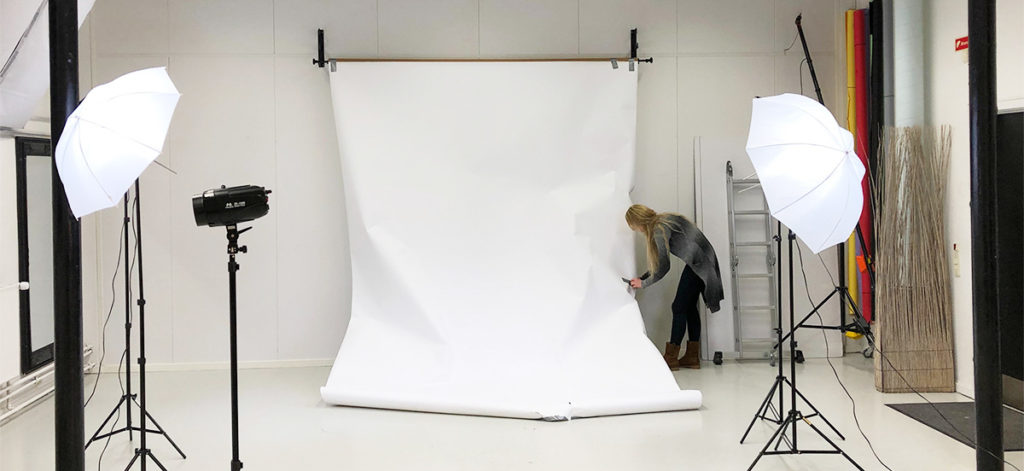
BACKGROUND
Another element of studio portrait beauty is a clean background with no distraction. Depending on the colour and texture of your backdrop you can manipulate the mood of your portraits.
A backdrop can be literarily anything: not only professional paper or vinyl backdrops from a photography store, but also curtains, pieces of fabric from a materials market and more. Charity shops even have random pieces of materials for just a few pounds. Table cloths, curtains… get really creative here! If you don’t feel like spending at all, use a bed sheet!
My go to-backdrop is faux leather (leatherette) from a textile market for £5-7 per meter (1.5 x 3m = £15 vs. an £80 photography backdrop).
Last but not least, you’ll need to hang your backdrop onto something, so don’t forget about a backdrop holder with clamps. Again, it’s very inexpensive and flexible to set up anywhere. I got mine from Amazon for £35-40 with clamps.
If you’re still considering setting up your own studio, you can get a basic yet effective set up for just about £100:
- A speedlght (about £30)
- S-type bracket (£15)
- Light stand (£15-20)
- Umbrella (£10)
- Backdrop holder (£35)
- Any kind of material for a backdrop (£10-20)
Be smart with your photo purchases and keep practicing!
Hope this post was useful. Please feel free to ask me any questions regarding home photography studio on a budget.
Speak to you next week!
Sorry, the comment form is closed at this time.